Reference [Creating a CD]
is finished, the display indication changes to ALL SAVE
4.
Insert the CD R or CD RW where the project is
COMPLETE .
saved into the CD R/RW drive.
N
OTE
If project was backed up as single project
When a full backup spans several discs, restoring a single
Insert disc number 1.
project requires you to first insert the disc on which it is
saved. Be sure to note the disc number and the projects
If project was backed up as part of a full backup of all
saved on the disc on the case and label of the disc.
projects
Insert the disc where the project is stored. (If there are
H
INT
When the disc has been ejected, it also possible to abort the
multiple discs, insert the first disc that contains data of the
backup operation. To do this, press the [EXIT] key while the
desired project.)
indication CHANGE DISCxxx (where xxx is the disc
number) is shown. The indication will change to ALL SAVE
N
OTE
CANCEL? . Press the [ENTER] key to terminate the process.
Also when you have backed up all projects in a single
8.
operation, restore is performed for single projects.
To return to the main screen, press the [EXIT] key
If the backup of the project spans multiple discs, be sure
several times.
to insert the first disc that contains data of the desired
project first. If you insert another disc, the project data will
not be read correctly.
Loading a project from CD R/RW disc
5.
Press the [ENTER] key.
To restore a project saved on CD R/RW disc to the hard disk
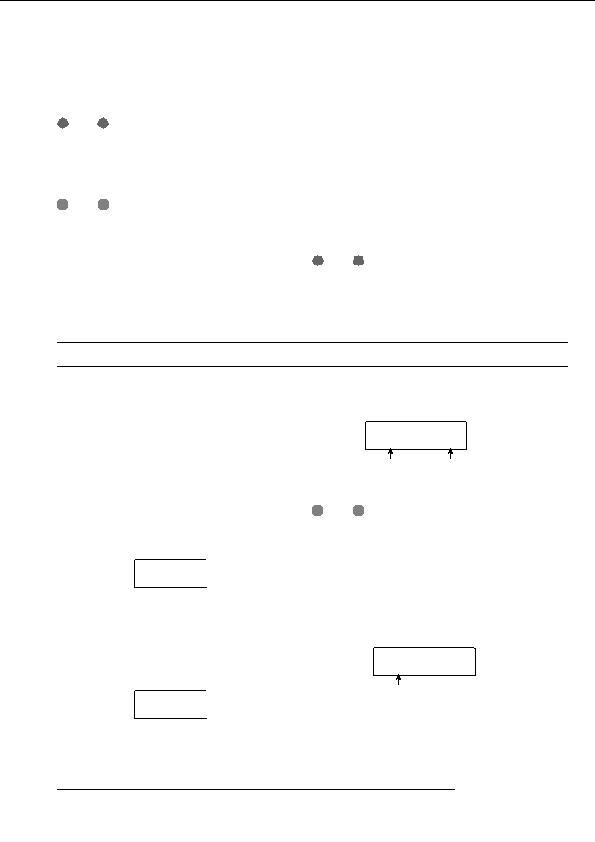
The name of the project on the disc, and the number which is
of the MRS 802, proceed as follows.
to be assigned to the project are shown on the display.
1.
From the main screen, press the [CD R/RW] key in
LOAD
LOAD
the display section.
PRJ012
PRJ012
7
The CD R/RW menu appears.
Project name Project number
2.
to be assigned
Use the cursor left/right keys to bring up the
indication CD R/RW BACKUP on the display, and
press the [ENTER] key.
H
INT
When being restored to the MRS 802, an empty project
The display shows the backup/restore menu.
number is automatically assigned to the project. Even if a
project with the same name already exists on the hard disk,
it will not be overwritten.
BACKUP
BACKUP
SAVE
SAVE
6.
To check the name of the directory from which the
project will be read, press the cursor down button.
3.
Use the cursor left/right keys to bring up the
The display shows the directory name.
indication BACKUP LOAD on the display, and
press the [ENTER] key.
DirName
DirName
The indication LOAD InsDisc1 appears on the display.
PROJ012
PROJ012
7
Directory name
LOAD
LOAD
InsDisc1
InsDisc1
Press the cursor up key to restore the original display.
ZOOM MRS 802
122
footer
Our partners:
PHP: Hypertext Preprocessor Cheap Web Hosting
JSP Web Hosting
Ontario Web Hosting
Jsp Web Hosting
Cheapest Web Hosting
Java Hosting
Cheapest Hosting
Visionwebhosting.net Business web hosting division of Vision Web Hosting Inc.. All rights reserved